
Creating a large Natural Feature Tracker
In this experiment we attempt to create a large Natural Feature Tracker (NFT) in order to show that a large marker can be acquired from a distance for use in an Augmented Reality scene on a mobile device.
Natural Feature Trackers
Preamble
From the 1999 paper on Natural Feature Trackers (NFTs):
Maintaining accurate registration between real and computer generated objects is a critical requirement for creating an augmented reality. As the user moves his or her head and viewpoint, the computer-generated objects must remain aligned with the three-dimensional (3-D) locations and orientations of real objects. Alignment is dependent on tracking (or measuring) the real-world viewing pose accurately. The viewing pose is a six-degree of freedom (6DOF) measurement: three degrees of freedom for position and three for orientation. The tracked viewing pose defines the projection of 3-D graphics into the real-world image so tracking accuracy determines the accuracy of alignment.
In the paper, Ulrich Neumann and Suya You describe how Augmented Reality markers can be created from natural features detected in the environment. Their paper tackles the problem of recognising natural features in real-time - creating a map of recognised features in an arbitrary scene and then using this to overlay AR objects
This is very difficult, even with state of the art technology 21 years later! Not least because it requires complex image recognition algorithms to map natural features in the scene which can then be used as anchors for AR objects to be placed on. This requirement is too much for current mobile devices.
Implementations of NFT in AR.js on mobile devices
The AR.js implementation of Natural Feature Tracking cut out this step - the real-time recognition of natural features in view of the camera - by substituting a pre-processed map of natural features to look for - typically a pre-determined 2D image placed in the camera view. Pre-processing creates a map of reference points discovered in the image that can be presented to the AR system as a marker.

The illustration above shows how an NFT marker is constructed from an image: prominent elements (contrasting against the background) are identified and used to generate a network of reference points forming a unique map. This map is in effect the marker that AR.js 'looks' for in the AR scene.
In summary
NFT markers are AR markers generated from 2D images that can then be used in place of Hiro or Barcode markers. Typically you use a high resolution image with prominent elements that can be discovered by the pre-processing algorithm.
Candidate images are pre-processed using an online tool, or in our case, using a node.js command line tool.
Pre-processing the image (e.g. ARImage.jpg) creates 3 files (ARImage.fset, ARImage.iset and ARImage.fset3) that are used to define the NFT marker. These are hosted on the same server as the AR page, and referenced in its HTML in place of the usual reference to a Hiro or Barcode marker.
NFT requirements
Images used for NFT markers need to have the following properties:
- Optimal resolution and size: a total size in pixels (base x height) between 3,300,000 - 3,500,000 pixels and dpi of at least 200 optimal 300
- Clearly defined (i.e. contrasting) patterns or features in the image that can be used to determine reference points
Successful acquisition of the NFT marker has the following requirements:
- An unobstructed view of the NFT marker - partial acquisition of reference points in the image will not cut it
- The NFT marker must be distinguishable from the background
- Consistent lighting without reflections or shadows on the marker
- A good enough camera to resolve the NFT marker in enough detail to determine the reference points in the image. Note, this is a function of both distance and lighting
Our experiment seeks to determine the limits of the above requirements in order to set the parameters for presenting a successful AR experience in the following a scenario: a large NFT marker (2m x 1m), presented at a distance of more than 10m in consistent lighting.
Experiment 1
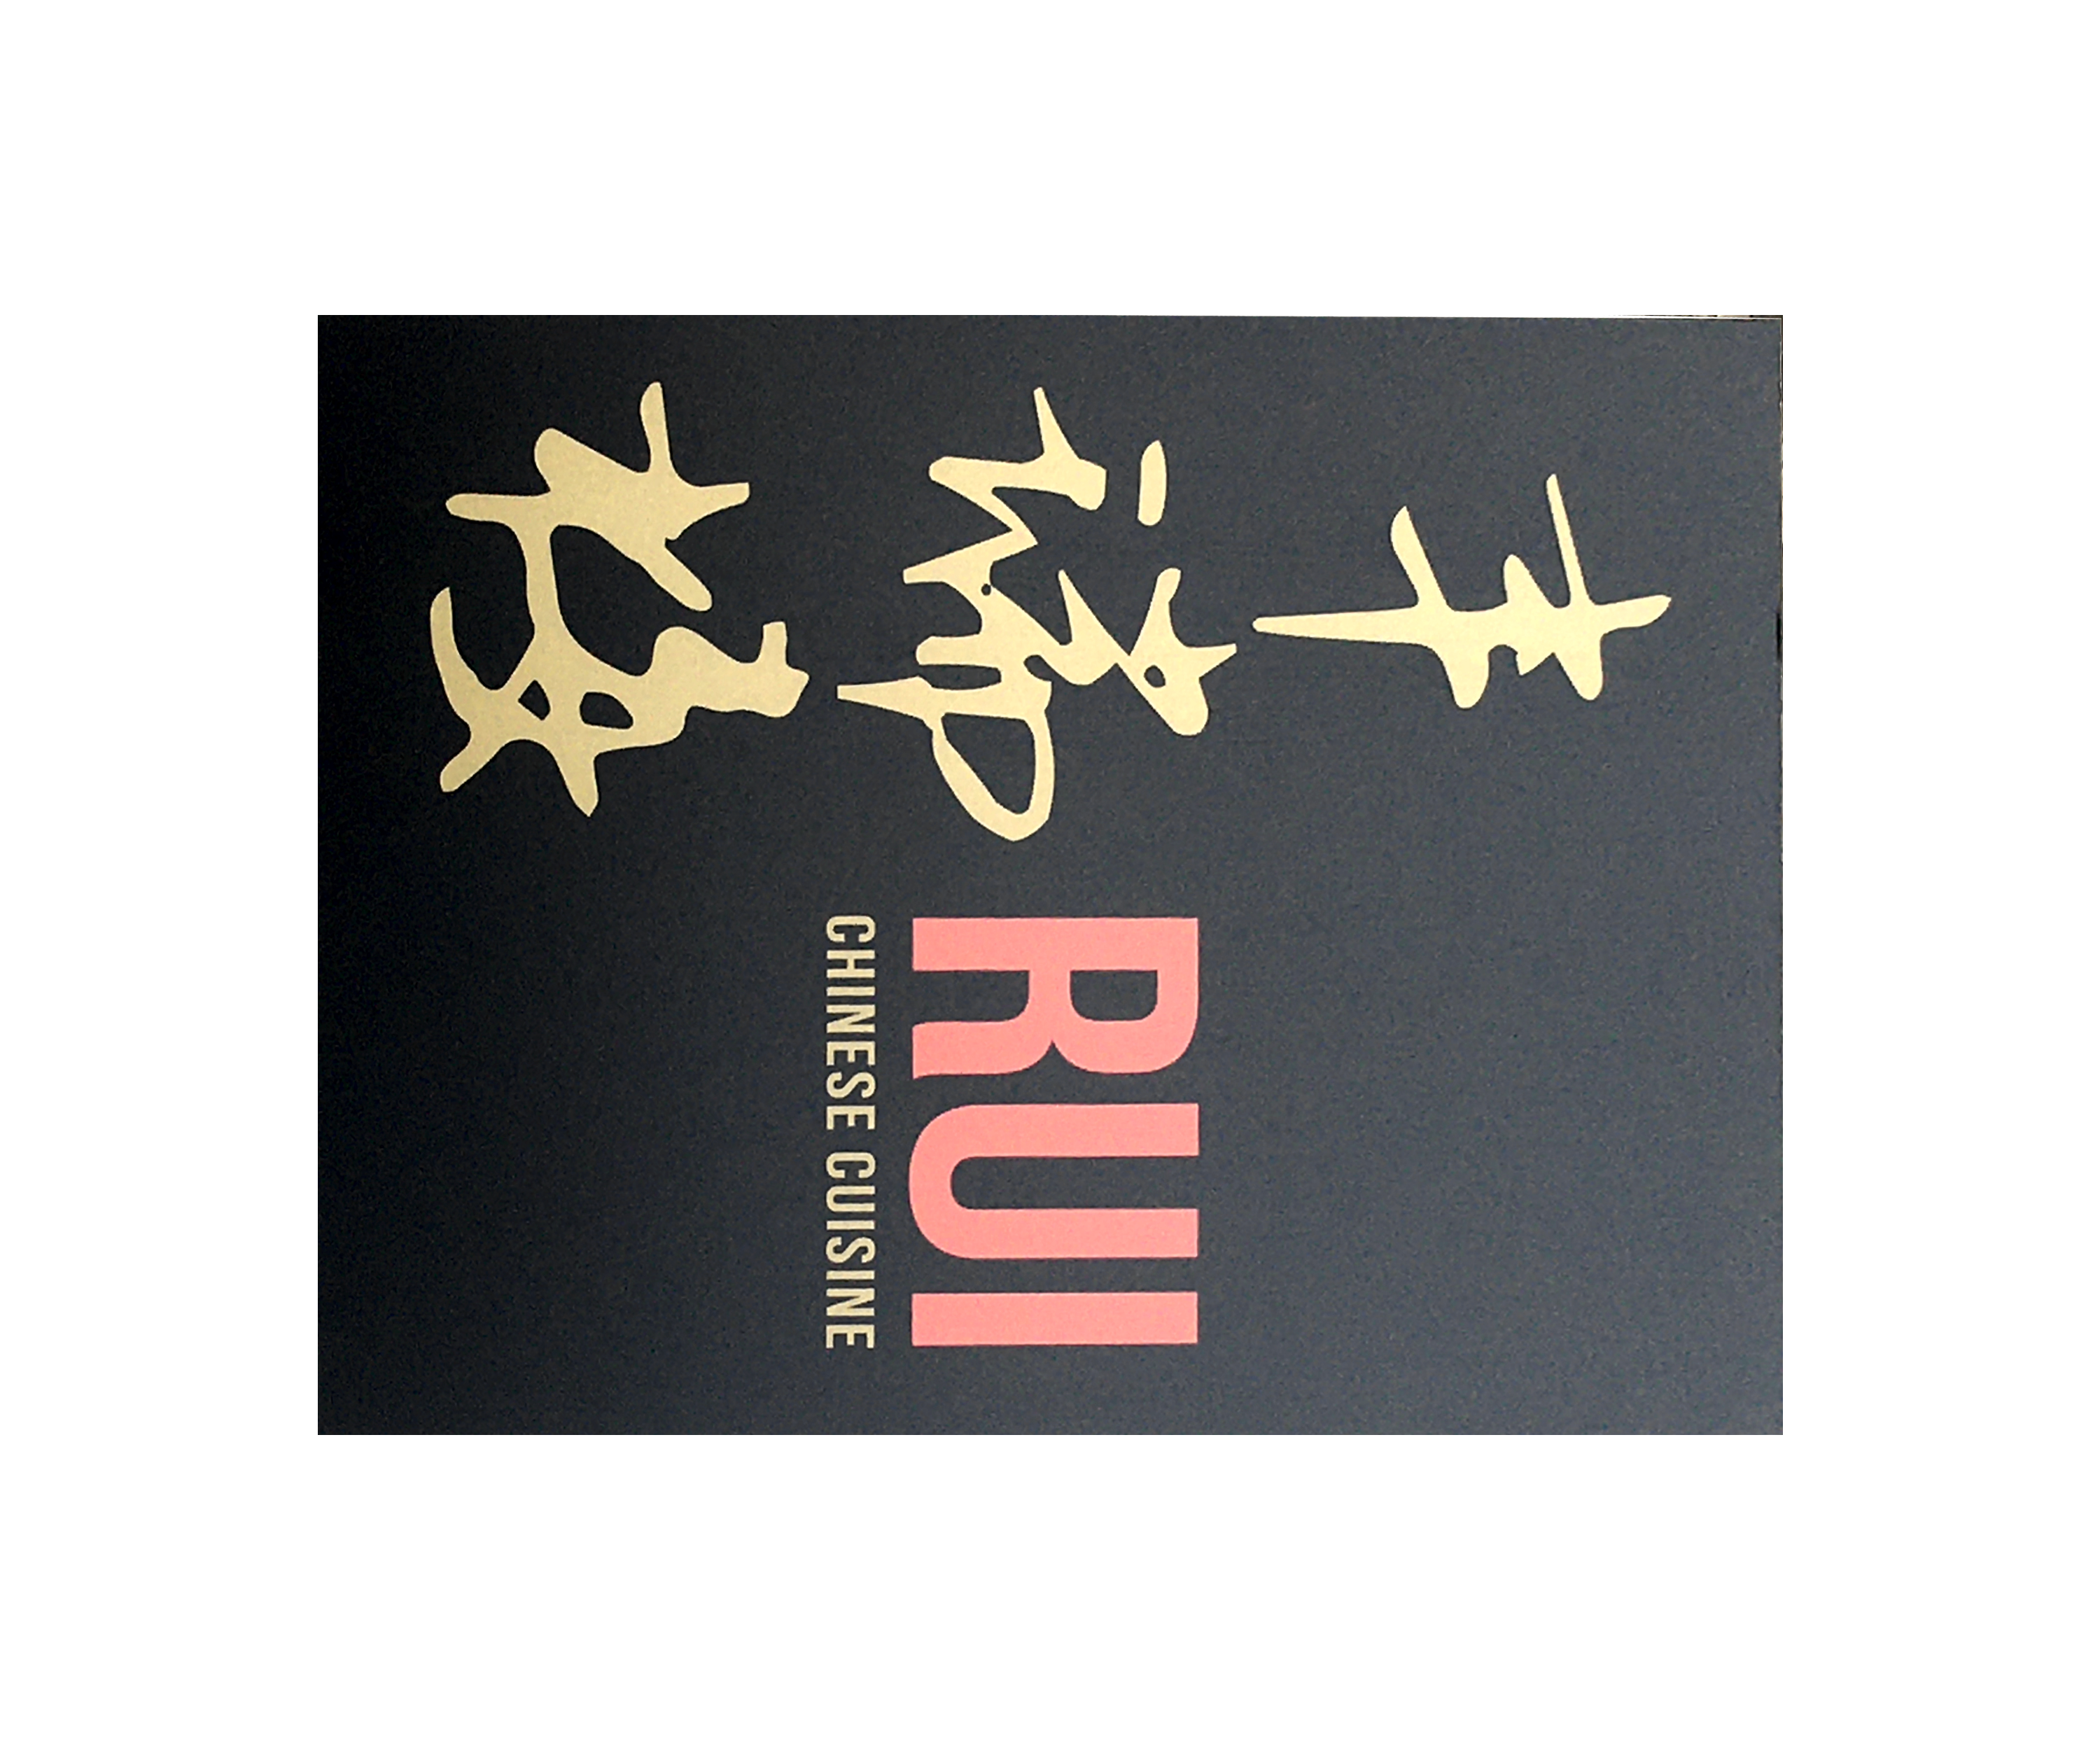
Across the street from our location is a Chinese restaurant with a large sign nailed to the wall that (we hoped) would satisfy our image requirements - over 2m x 1m, having complex, high contrast features and clearly distinguished from its background.
The candidate image and context

Conditions: overcast (so hopefully, lack of reflections and shadows)
Attempts at NFT generation using the command line tool

View the isolated image here - you can use this to test the image by viewing it on a screen with the referenced AR pages below
We first attempted to generate features from the image at xsize=2531, ysize=3311 at 72dpi giving total pixels: 8,380,141 - around 3 times the recommendation. Our idea here was to test an upper bound on feature generation. (laptop started thrashing!!!).
This took an hour to generate, and FAILEDWe then attempted to generate features from the image at xsize=1600, ysize=2093 at 72dpi giving total pixels:3348800 - within the recommended pixel dimensions.
This took 20 minutes to generate, and FAILEDFinally we attempted to generate features from the image at xsize=1600, ysize=2093 at 300dpi giving total pixels (again):3348800 - within the recommended dimensions and dpi.
This experiment includes a Hiro marker to test that marker recognition is working.This took 30 minutes to generate, and FAILED
In all three cases we got a confidence level of 0/5. Which shows that there is something fundamentally wrong with our approach.
Experiment 2 - is this thing on?
In this case, we retreated to creating an NFT marker from a complex image. We photographed a dominos pizza flyer and cropped it to recommended pixel dimensions and dpi.

Dominos Pizza flyer AR demo - Success!
This experiment shows that we can create an NFT - the command line tool reported a confidence level of 5/5. However, we haven't got much further towards our stated aim of recognising a large NFT marker at a distance. This just shows that our initial image was either too simple, too distant or too badly lit to present recognisable reference points.
In addition, both loading and marker recognition were slow, and the AR objects jittered unacceptably due to camera shake and CPU load on the test device (iPhone 6s). Note, camera shake is worse when acquiring a marker at a distance.
These issues are not good indicators of a satisfactory AR experience!
Experiment 3 - very large object!
In this experiment we photographed an entire building to use as an NFT marker. Our hope was that the complexity of the resulting image would answer some of the requirements.
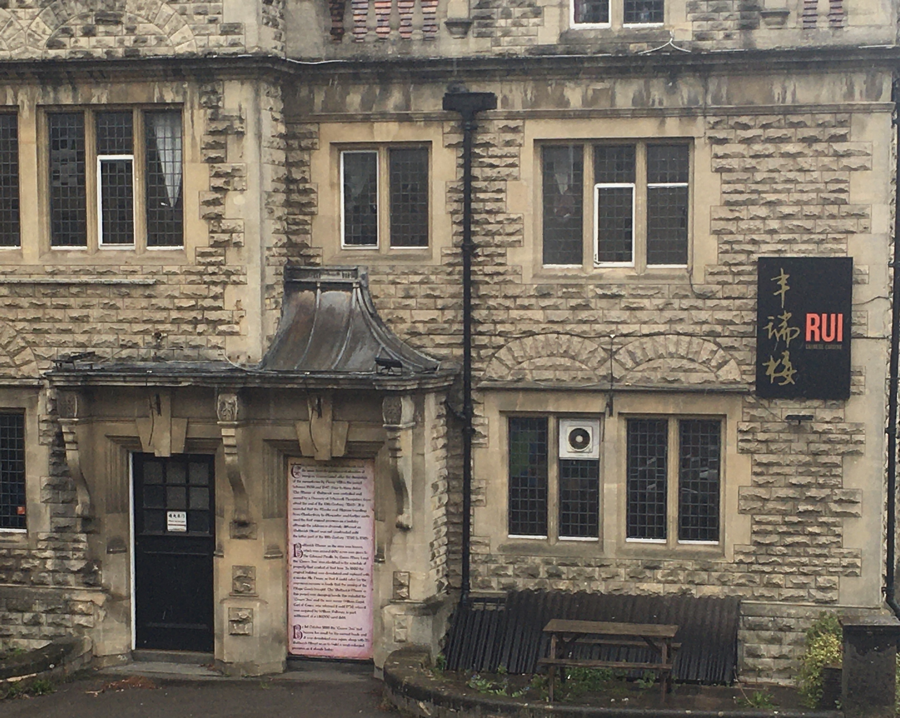
Building as NFT marker AR page - Partial success. The NFT marker works when viewed onscreen (you can try it by pointing your mobile device at the image above), but does not work in initial testing IRL. This is either because there are no borders to the building or because lighting conditions have changed (it's raining) - further testing in consistent lighting is required.
Experiment 4 - a second attempt at defining a large 2D image as an NFT
In this case, we chose a more complex sign: a map sign close to Holborn Museum in Bath. The disc of the map is around a meter in diameter, has a clear border, and is fairly complex.
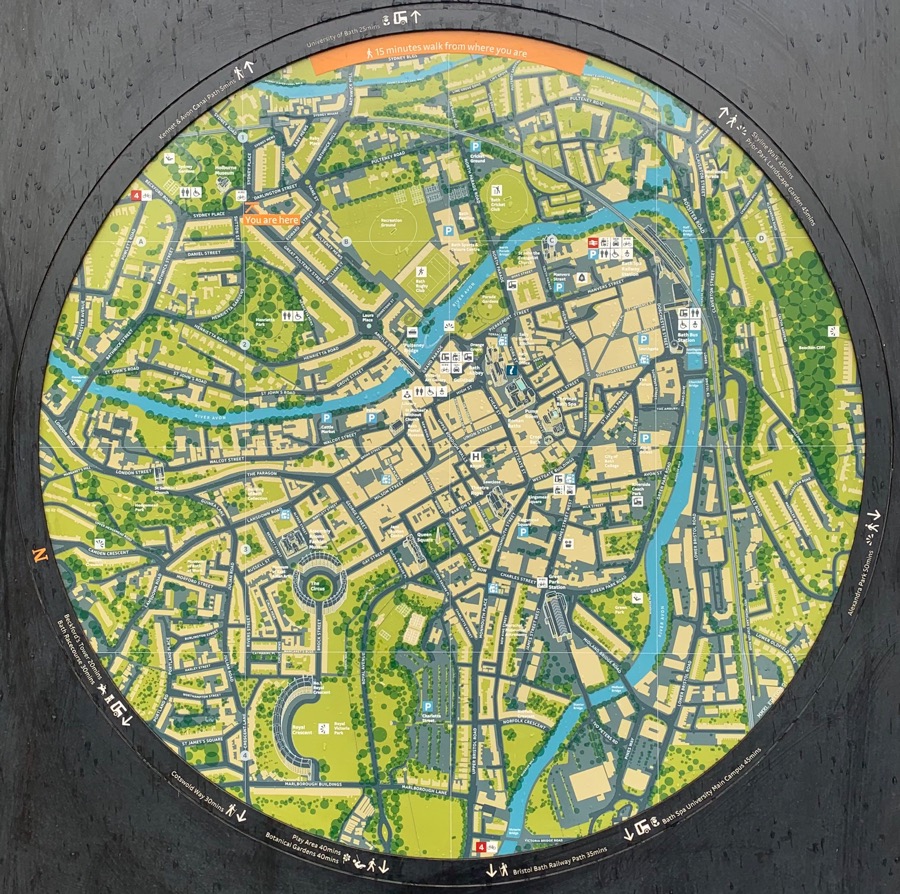
Bath map AR demo - test by pointing your mobile device at the image above.
This was a success - the NFT marker was acquired on screen and IRL. However, the IRL acquisition only worked at a distance less than 4m. This is most likely a limitation of the older camera of the iPhone 6s we used in testing.
A limited success - not a good a distance, and shonky capture of the NFT
Conclusion
The following findings are notable:
- Creating a usable NFT maker is rather hit and miss at the moment, and it's unclear which parameters need to be adjusted
- The first experiments with Chinese signage, compared to the pizza flyer experiment, demonstrated pretty conclusively that lack of complexity in the image was an issue
- Camera shake is an issue that gets worse as the distance between the device and the marker is increased
- Long loading times for NFT assets is an issue, even on a WiFi connection
- Reflections and shadows on the marker can prevent acquisition of the reference points in the marker, leading to the model disappearing
- A fairly new mobile device is required; the iPhone 6s struggled with resolving the marker at a distance, jittering of the image over and above camera shake, and loading NFT assets over WiFi
- Positioning of models in relation to NFT markers is under active development by the AR.js community, and is not yet consistent