
NFT marker with product packaging: part 2
Embedding video on NFT
In this experiment we attempt to make an NFT marker image "come alive" by super-imposing an animated version of the marker image on the marker in the AR scene. The key to this experiment is getting consistent and stable placement of the superimposed animation.
Experiment 1
In our first experiment we used a relatively simple marker image and animation. However, this was not very stable and flickered badly as the AR system attempted to acquire the marker image.
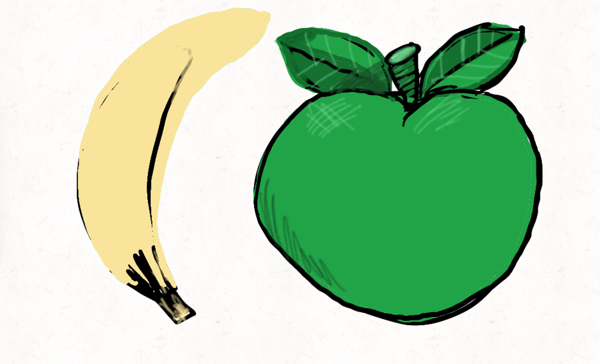
Experiment 2
In our second experiment we increased the complexity and resolution of the marker image (possible solutions discovered in previous experiments). This meant that we had to update our animation too!
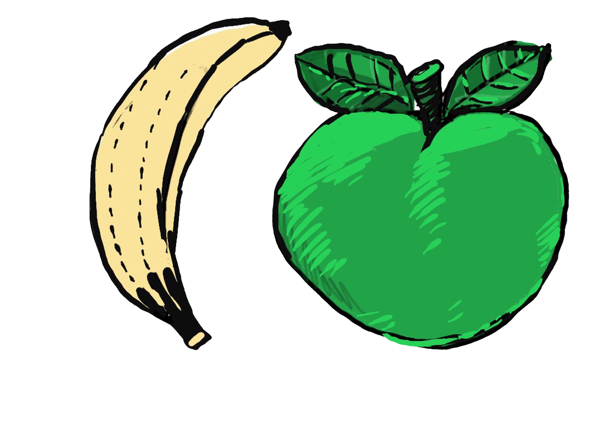
We can see from this experiment that we still have some issues with stability, especially when the marker moves out of orthogonal relationship with the camera. This may be because the marker image doesn't have a completely clear orientation based on the individual components - the apple image, the 'strongest' element in the image - has vaguely circular symmetry.
Experiment 3
In our next experiment we tried to create a marker image with stronger referents to orientation: clearly vertical and horizontal elements that help acquisition.
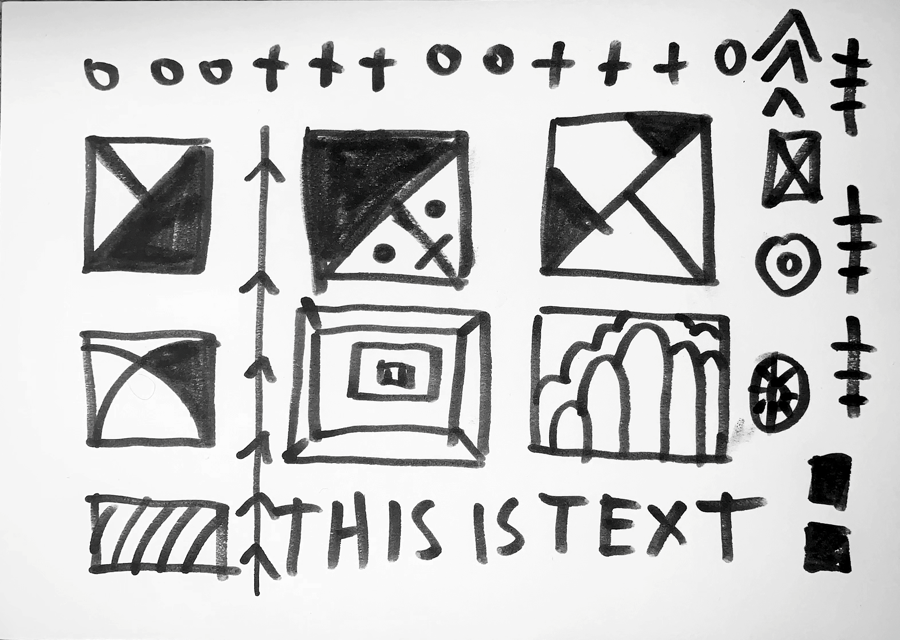
Sadly, this experiment failed - the confidence level of the NFT creator was very low. However, the fact that the stability of the image was correspondingly awful showed we were on the right track.
Experiment 4
In this experiment we used a much more complex image. This time, the NFT creator app reported a confidence level of 5/5!
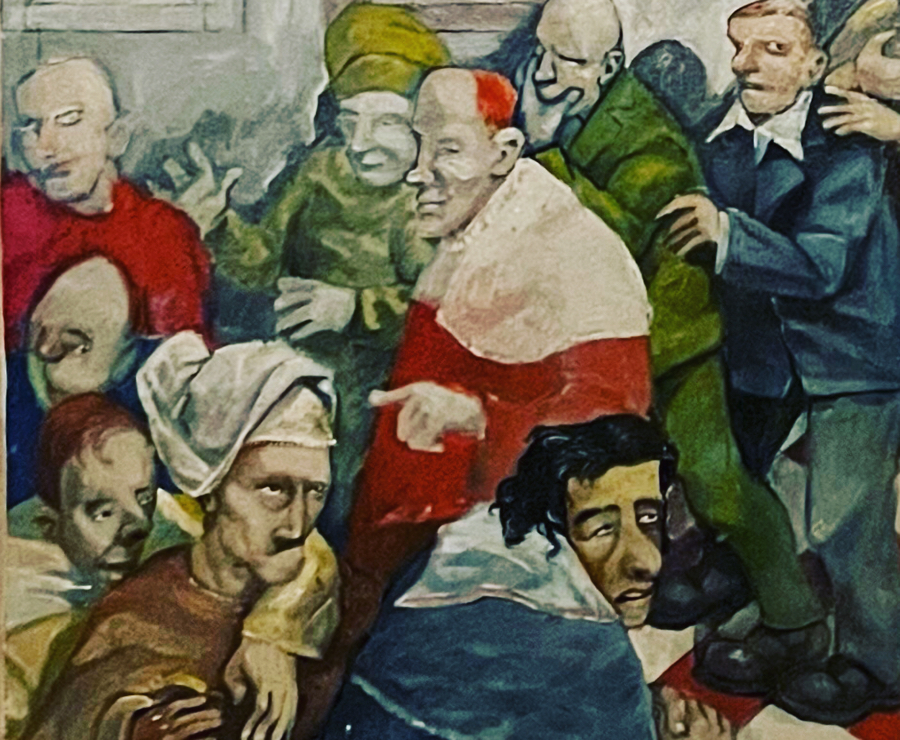
However, as you will see (or not see) from the demo, this failed too. There's clearly sweet spot between complexity and simplicity!
Experiment 4
Complex images, even with high confidence levels didn't work, time to recapitulate to simpler, bolder images.

It appears that strong geometric shapes are the way to go, even with a low confidence level.